Well y'all the beast is complete. *Sigh* She was a doozy. For those of you just joining us in this adventure, you can read Part I here and Part II here.
Before we put the shelves in or put the doors back on, we wanted to move her from Terry's office to my closet/dressing room/office. This is the wall where we're going to put her:

Let the furniture shuffle begin!
First we heaved her out into the hallway, and suddenly Terry's office became much brighter. And look at my perfectly clean workspace - no paint!
Once in the hallway, we shimmied her into her new room. There was cussing and lots of "WATCH OUT FOR THE CARPET" and "Are you watching the carpet? Are you?". I didn't really understand what the carpet was going to do but just to be safe I stared at the floor. Finally, she was in place!

Well that's deplorable. Below is the viewpoint from the doorway, and it very quickly became clear that she couldn't stay where we'd put her.

At this point I told Terry I didn't like it to which he replied "Oh well, it's YOUR turn to keep it in your office." Nice. So we decided to try her out under the window, where my desk lived. You remember my desk.
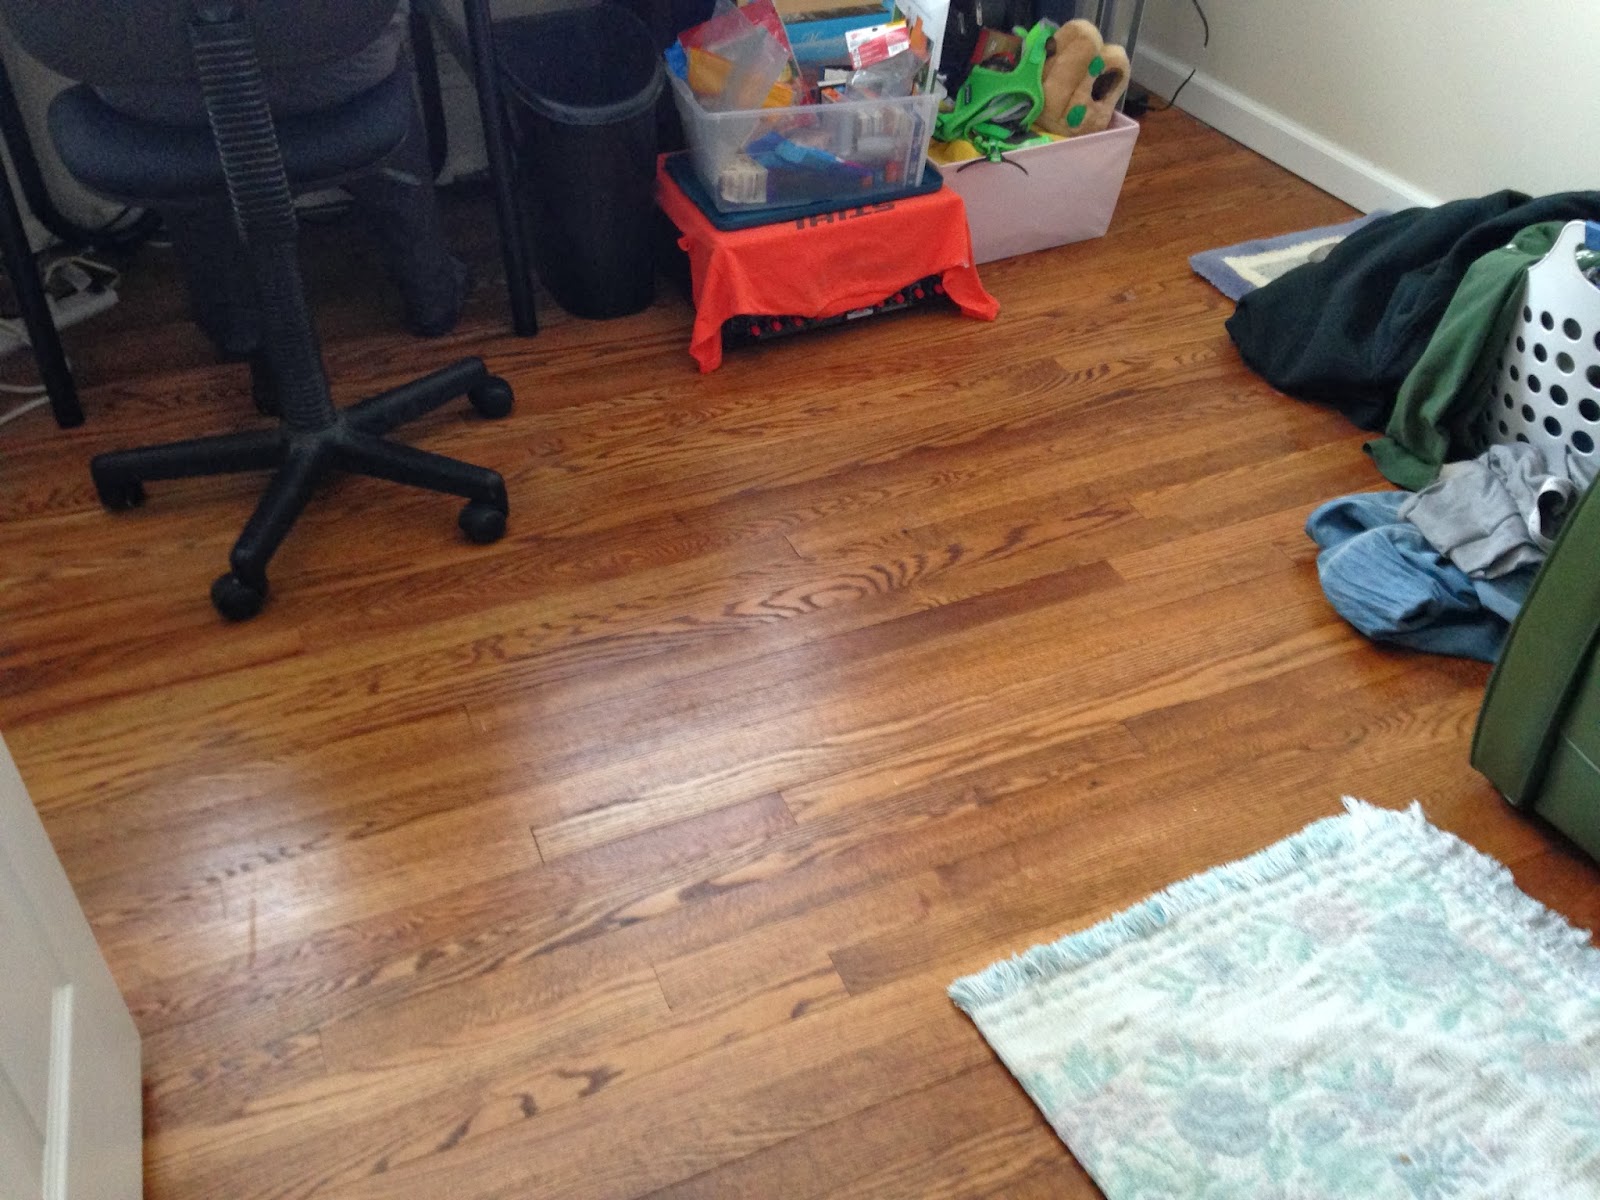
So I had to move my desk. And then the room looked like this, and I totally quit.

But we shuffled her a little further across the room (and watched the carpet)...

Ok that's better! Now let's measure for shelving.

I let Terry measure because math is hard. Time to drill!

Yup, that sucker's mine. True love is a 31 piece Ryobi drilling and driving accessory kit for Christmas. I pre-drilled the holes in the shelving supports before screwing them into the wardrobe to keep them from splitting.

The supports are nothing more than scrap trim we had in the basement, cut to fit. After being pre-drilled they were secured to the wardrobe with 1" drywall screws. And the shelves just rest on top!

This will allow us to take the shelves out should we ever have to move this lady again.

The shelves are white melamine boards from Home Depot that I painted to match the interior and cut to size. Last but certainly not least, we put the doors back on. Remember, here's what she looked like before:


Not too bad! It's only taken three years; I can't believe it's finally done and she's fully functional again. I tried to keep track of what this project cost, I think I spent about $70. I had the painting and staining materials on hand, along with the shelving supports, so really all I actually purchased was the plywood for the interior, drywall screws, and the shelving boards. It might seem like a lot of money for a DIY project, but it was worth it to me to invest in this piece and make her useful.
Now to tackle the rest of this room... stay tuned!
who knew?
ReplyDelete